
The fish acclimation process slowly adjusts new fish to tank water to prevent shock and stress.
I have worked with aquariums for years and helped dozens of hobbyists move new fish safely. This article explains the fish acclimation process step by step, shows methods for freshwater and saltwater, and shares real tips from hands-on experience. Read on for clear, practical, and trusted guidance that will help your fish thrive after a move.

What is the fish acclimation process?
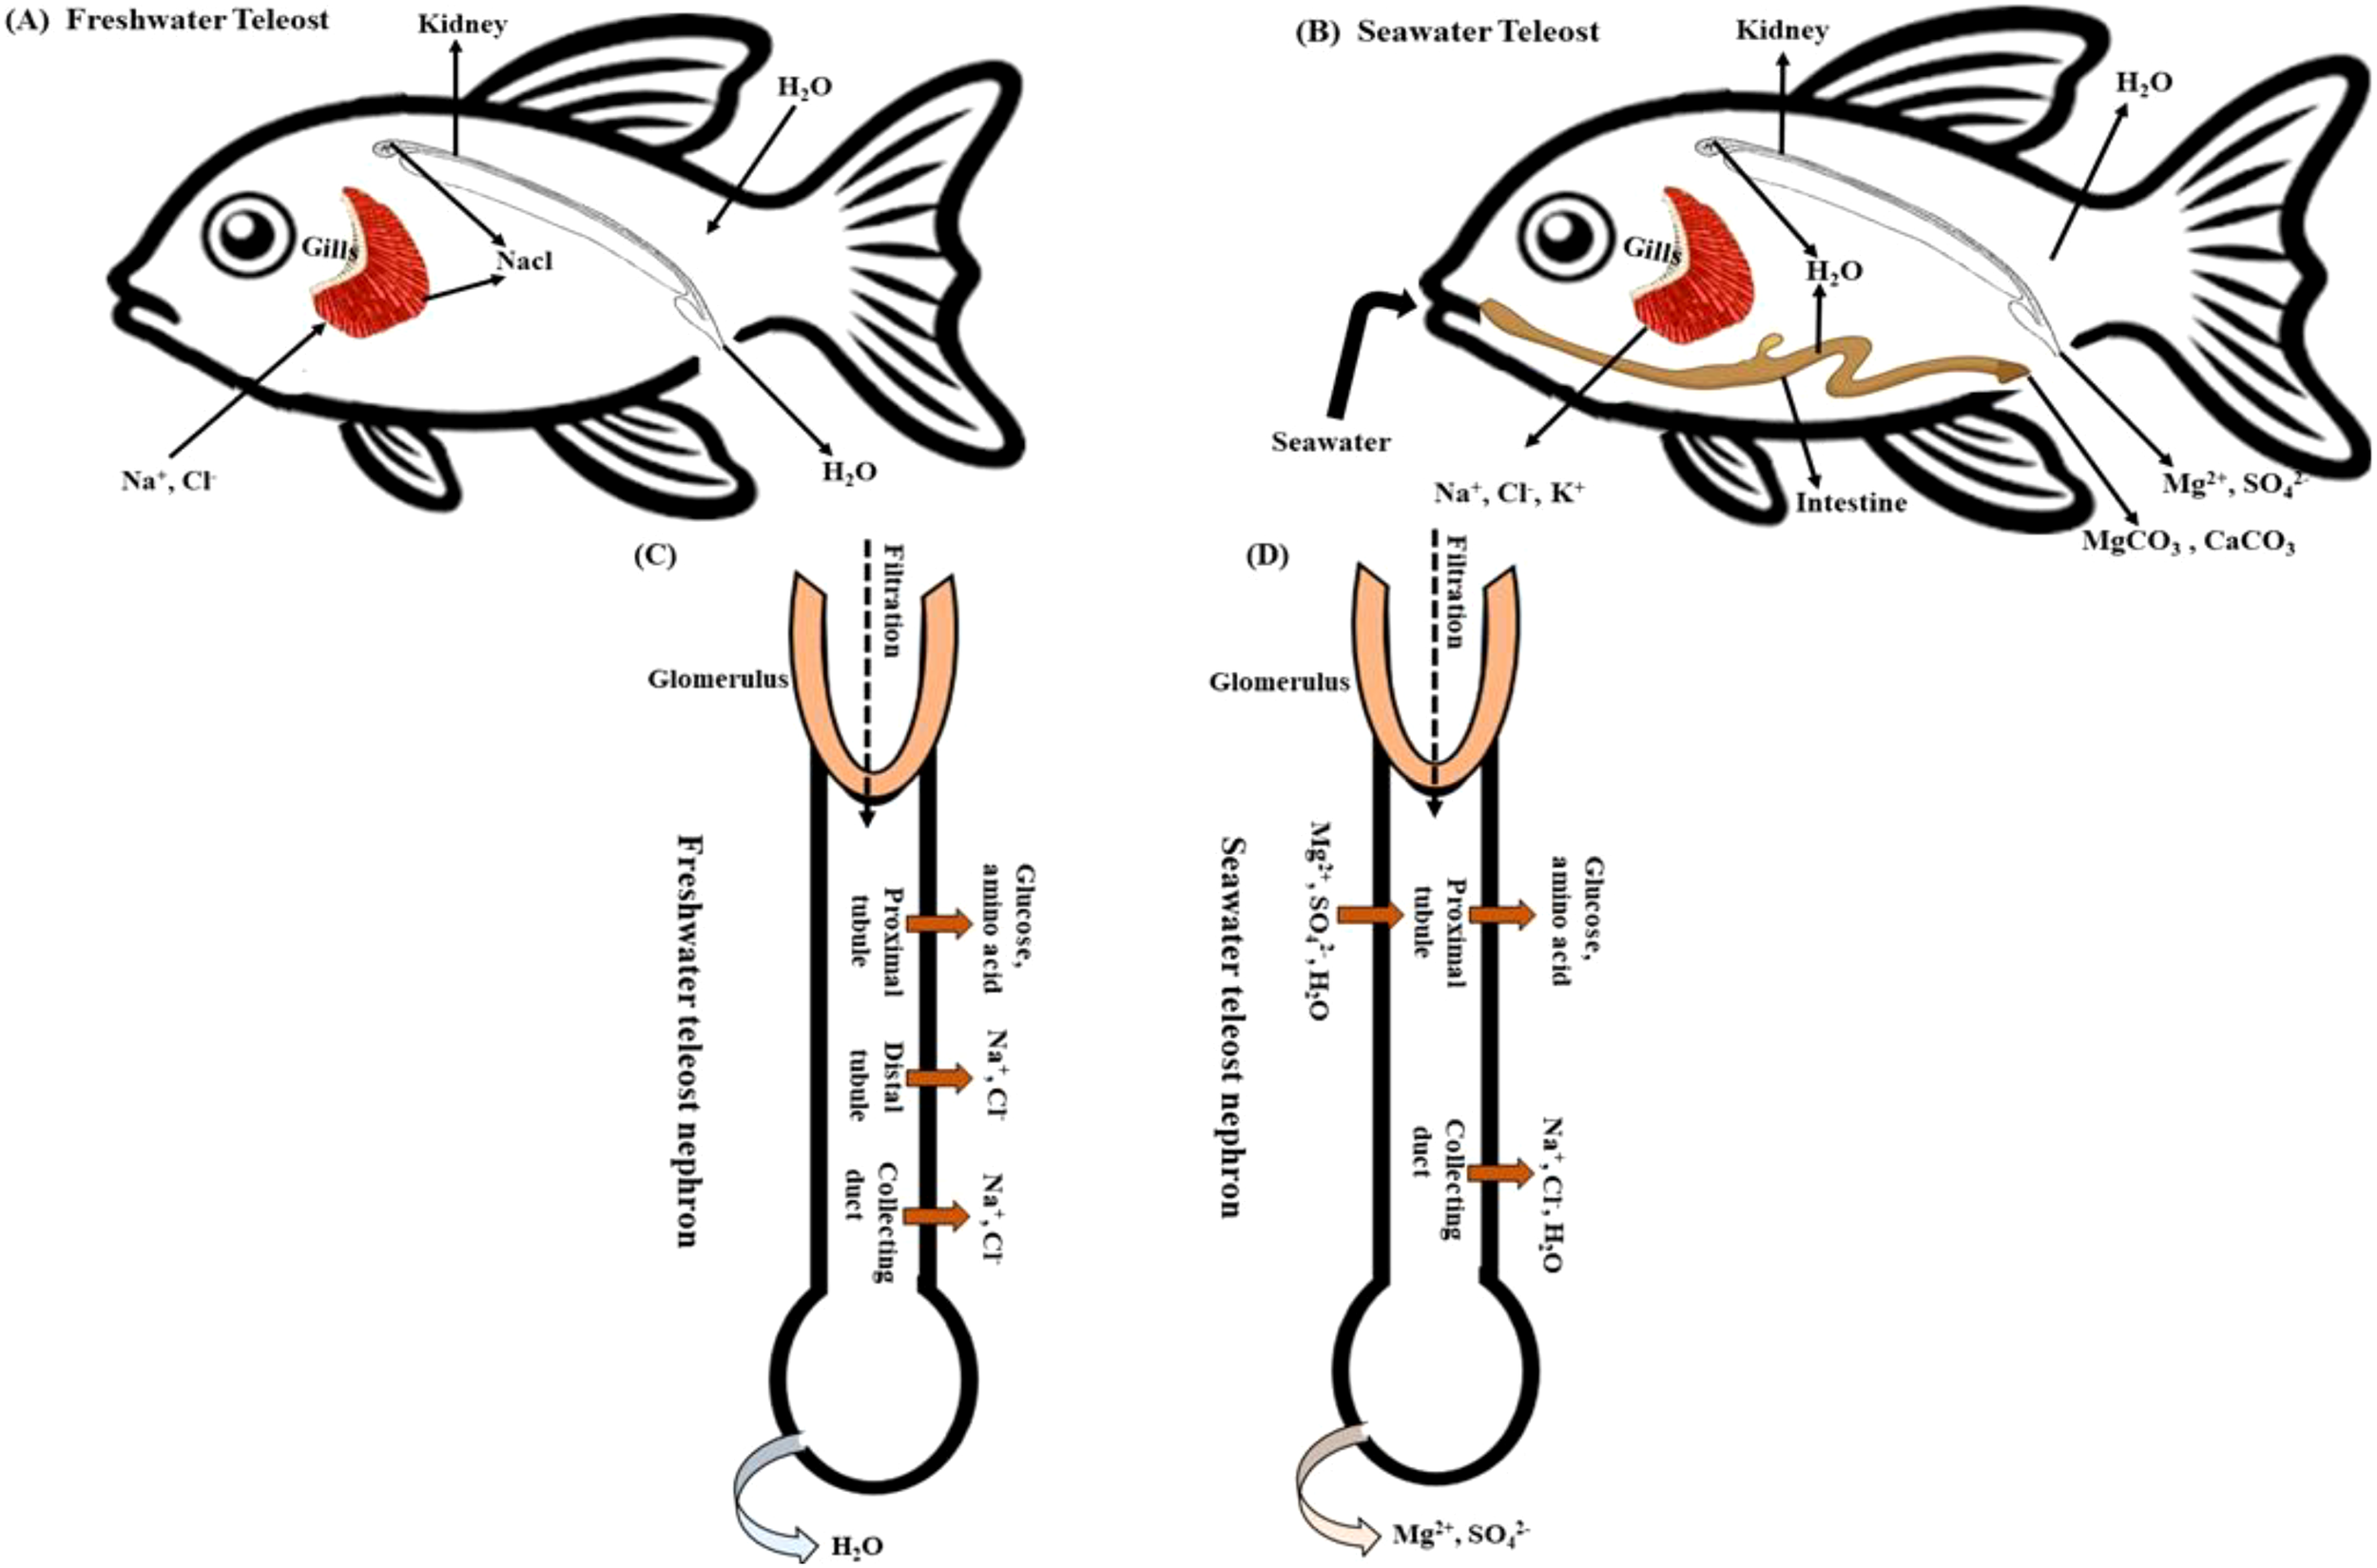
The fish acclimation process is the set of steps to move fish from one water environment into another with minimal stress. It reduces sudden change in temperature, pH, and salt levels that can harm fish. Acclimation protects gills, skin, and internal organs while fish adjust to new water chemistry. The goal is stable fish health and better survival in the new tank.
Why proper acclimation matters
Poor acclimation can cause shock, disease, or death. Good acclimation lowers stress and helps fish perform normal behaviors fast. It also protects biological filtration by avoiding sudden ammonia spikes caused by sick fish.
Benefits of proper fish acclimation process
- Better survival for the first 24–72 hours after transfer.
- Faster recovery and normal feeding behavior.
- Lower risk of disease and reduced medication need.
Risks of skipping or rushing acclimation
- Osmotic shock from rapid salinity or pH change.
- Temperature shock that can slow breathing or cause lethargy.
- Higher chance of secondary infections after stress.
Common methods used in the fish acclimation process
Below are the main ways people move fish into a new tank. Pick the method that fits your tank type and fish sensitivity.
Float-and-release (simple acclimation)
This is the fastest method for hardy fish. Steps:
- Float the sealed bag in tank for 15–20 minutes to equalize temperature.
- Open the bag and let it sit afloat; add small amounts of tank water every 10 minutes for 30–60 minutes.
- Gently net and release the fish into the tank.
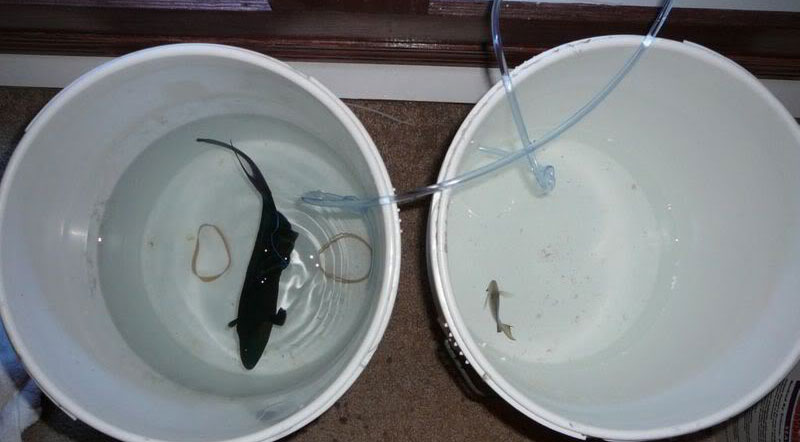
Drip acclimation (best for sensitive fish)
Drip acclimation is slower but gentler and great for delicate species. Steps:
- Place fish and their water in a bucket with a lid or cover.
- Use airline tubing to create a drip from the tank to the bucket, tying a knot for drip control.
- Adjust so you get 2–4 drops per second and double the bucket volume over 60–120 minutes.
- After doubling, transfer fish to the tank with a net.
Slow mixing method (saltwater and brackish fish)
This method slowly matches salinity and chemistry. Steps:
- Place fish in a clean container with source water.
- Add small amounts of tank water at set intervals, stirring gently.
- Check specific gravity for saltwater fish and stop when closer to tank levels.
- Transfer fish after gradual equalization.
Reverse drip (for very sensitive invertebrates)
Reverse drip moves tank water into the shipment water to avoid bringing pests. Steps:
- Place tank water in a clean bucket.
- Drip the shipment water into the bucket slowly and monitor.
- When water properties match, move livestock to the tank.
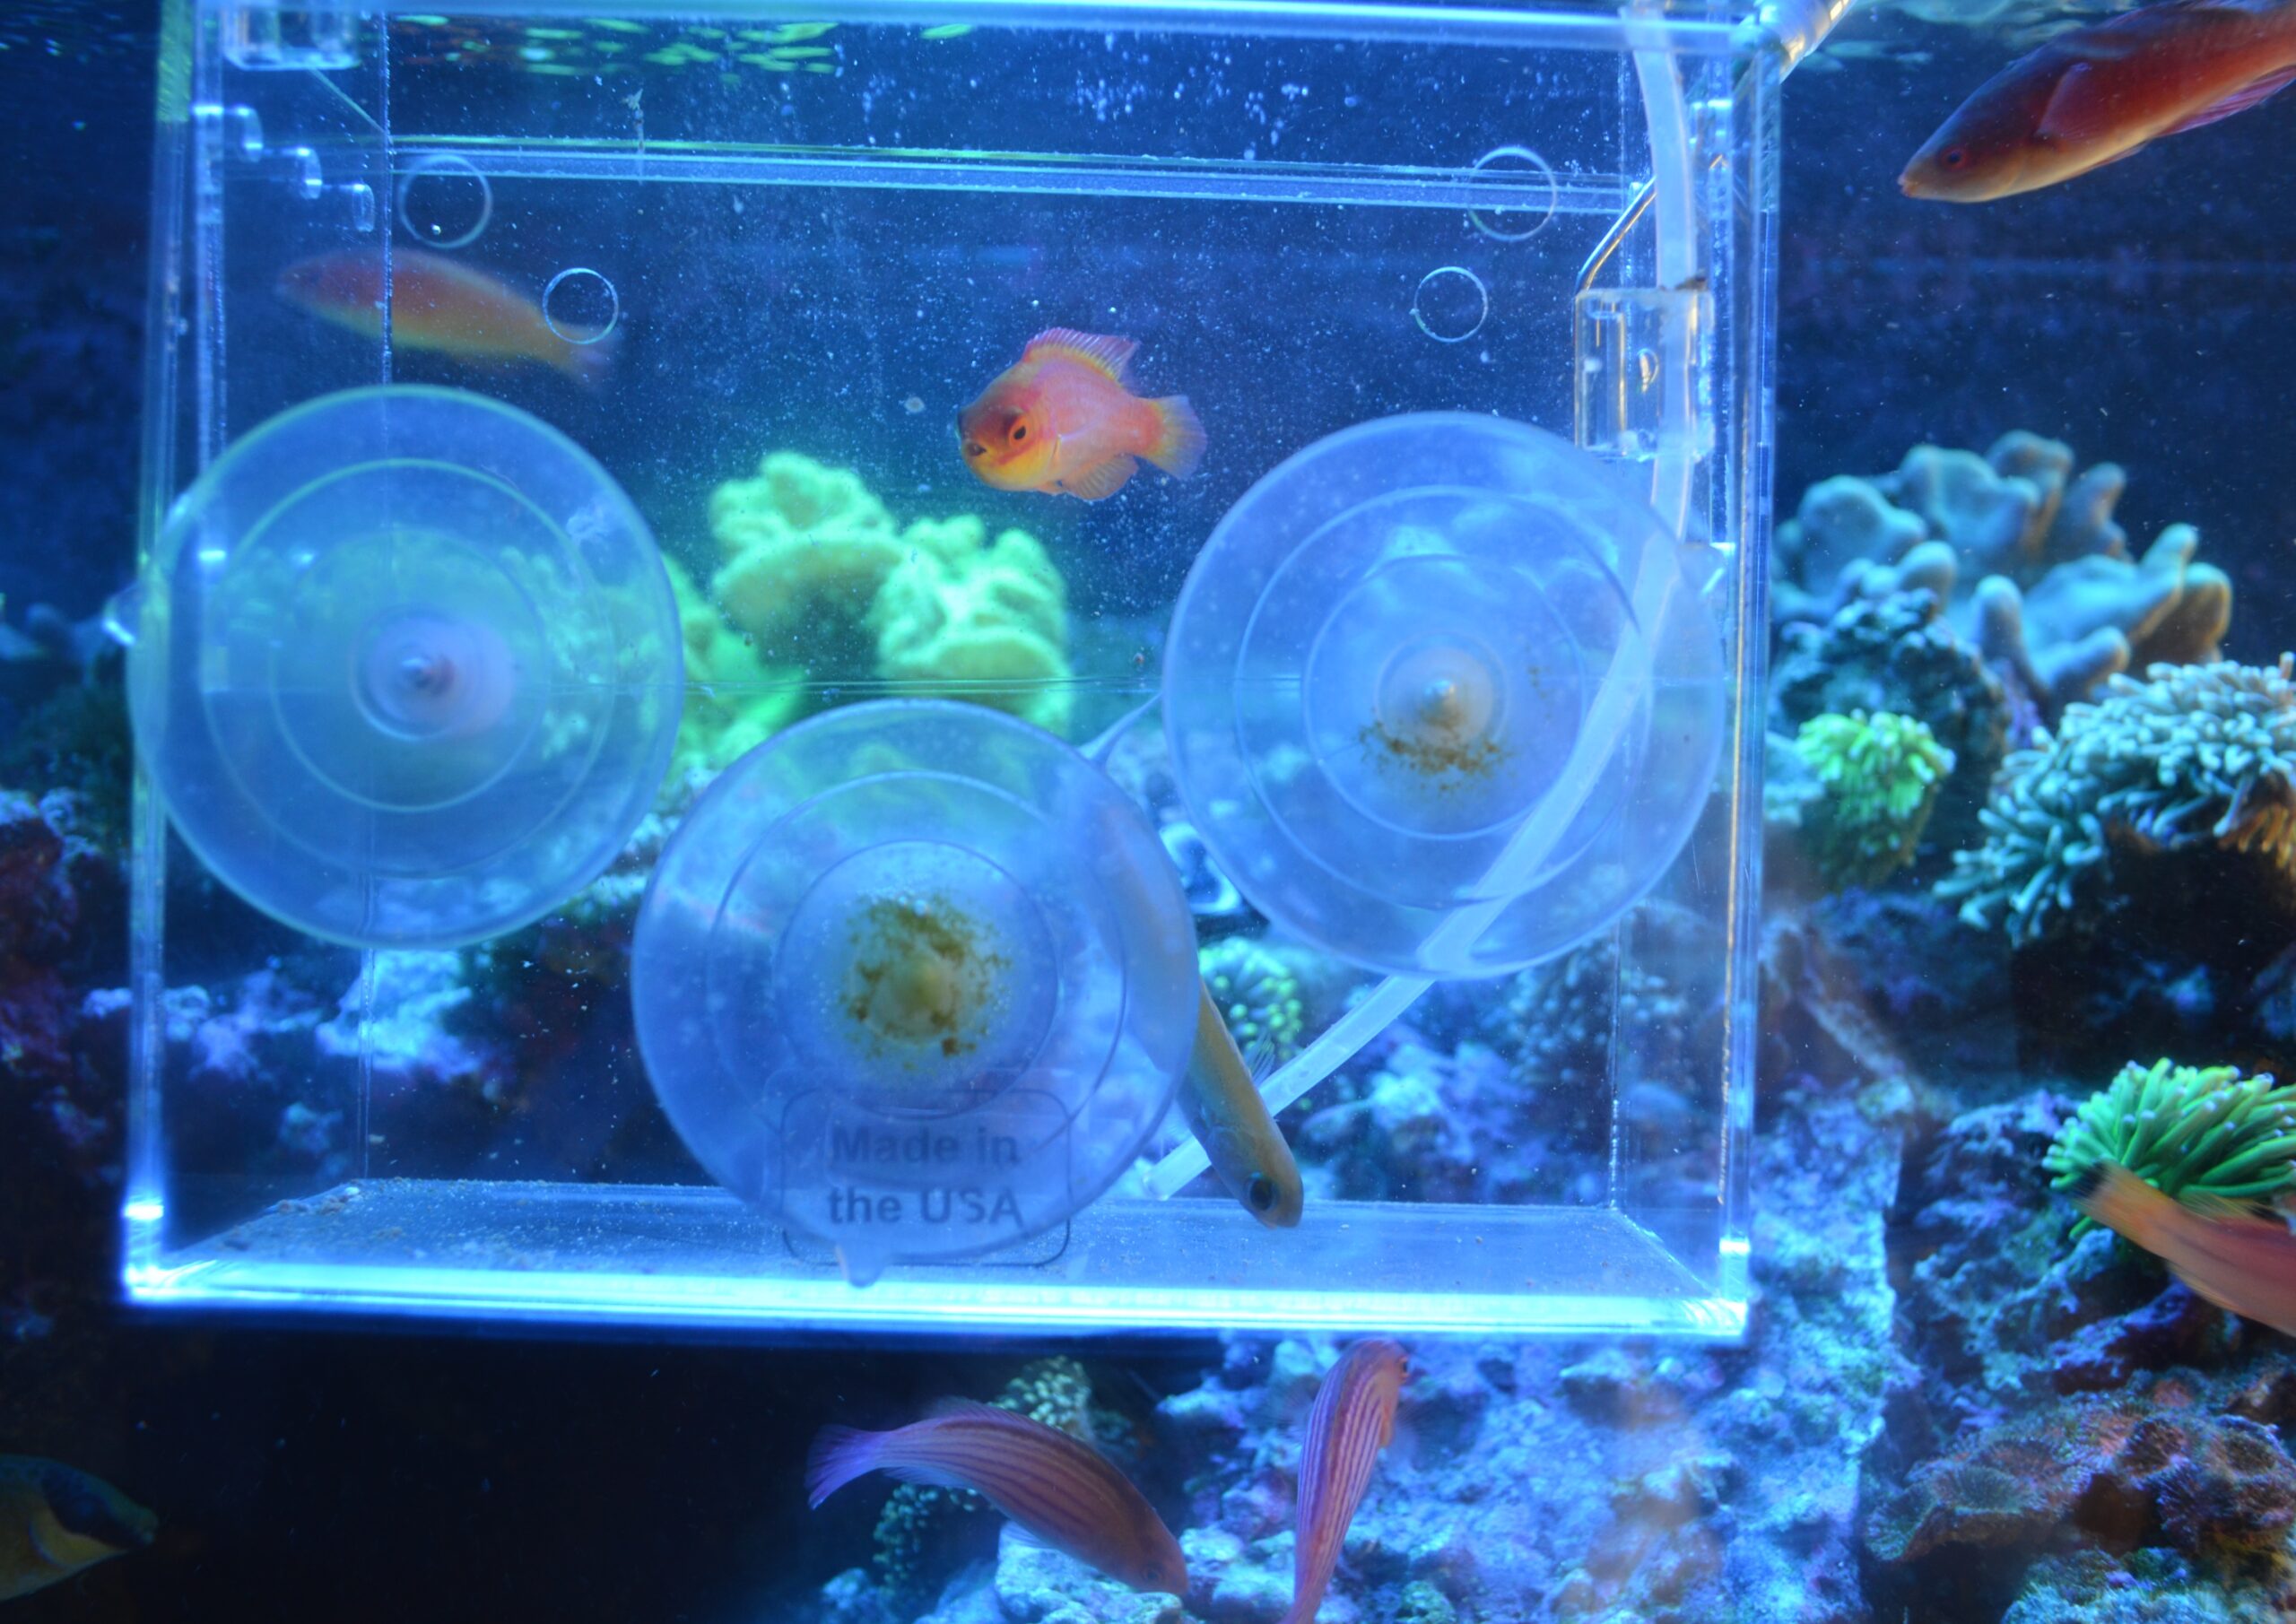
Step-by-step guide: Freshwater and saltwater acclimation
Here are clear, practical steps to follow for each major tank type.
Freshwater step-by-step
- Float sealed bag for 15–20 minutes to match temperature.
- Open bag and add 1 cup tank water every 10 minutes for an hour.
- After 60 minutes, move fish with a net into the tank.
- Dispose of the bag water away from your tank to avoid contamination.
Saltwater step-by-step
- Float the bag for 20–30 minutes for temperature match.
- Use drip acclimation to slowly match salinity and chemistry over 60–120 minutes.
- Test specific gravity during the process until it matches the tank.
- Transfer fish with a net and do not mix shipment water into the display.
A quick checklist before transfer
- Check tank temperature and match the bag.
- Turn off strong lights to reduce fish stress.
- Prepare a clean net and container.
- Have water test strips or a meter ready.
Equipment, water testing, and parameters to watch
Good tools make the fish acclimation process easy and safe. Use simple gear and test often.
Helpful equipment
- Airline tubing, valve, and a small pump for drip sets.
- Clean buckets or plastic containers reserved for fish only.
- A reliable thermometer and, for saltwater, a refractometer or hydrometer.
- Water test kits for pH, ammonia, nitrite, nitrate, and salinity.
Key parameters to monitor
- Temperature: +/- 1–2°F from tank is ideal.
- pH: Avoid sudden shifts; match roughly to tank pH.
- Salinity for saltwater: Match to 0.001–0.005 specific gravity if possible.
- Ammonia and nitrite: Keep at zero before adding new fish.

Troubleshooting and common mistakes during the fish acclimation process
Problems happen. Here are fast fixes and things to avoid.
Common mistakes
- Rushing the process because you feel pressure to add fish.
- Pouring bag water into the tank, which may introduce contaminants.
- Using dirty gear or reusing buckets that held medication.
Quick fixes
- If fish show heavy breathing, stop and slow down the drip. Lower lights.
- If temperature is off by a few degrees, pause and wait for equalization.
- If you see ammonia or nitrite spikes after adding fish, do partial water changes and test often.

Personal experience and practical tips
I once added a beautiful community of tetras after a long haul. I used drip acclimation. One fish showed odd behavior after release. I removed it and treated the tank for a mild parasite. That early attention saved the rest of the group.
Lessons I learned
- Always quarantine new fish when possible to avoid outbreaks.
- Label your gear and keep a dedicated acclimation bucket.
- Patience pays off; a slow acclimation often avoids big problems.
Tips I use
- Use a soft net to avoid scale damage.
- Keep lights low for 24 hours after new additions.
- Note arrival water properties when unboxing so you know what to match.

Frequently Asked Questions
How long should the fish acclimation process take?
Most acclimation runs 30–120 minutes depending on fish sensitivity. Drip acclimation for delicate species can take two hours or more.
Can I skip acclimation for hardy fish?
You can use faster methods for hardy fish, but skipping acclimation still raises risk. Even hardy fish do better with a short temperature match and small water additions.
How do I acclimate shrimp and invertebrates?
Invertebrates often need a slower, careful drip or slow-mixing method. Match salinity and pH very closely and avoid sudden water chemistry changes.
What if the new fish looks sick after acclimation?
Isolate the fish in a quarantine tank if possible and test water parameters. Treat based on symptoms and avoid adding more fish until the cause is found.
Does temperature or pH matter more during acclimation?
Both matter, but temperature changes are the most immediately stressful. Match both as closely as you can and use a slow acclimation when either is far off.
Conclusion
To wrap up, the fish acclimation process is a simple routine that protects new fish from shock and disease. Use slow, steady steps, the right tools, and a calm approach. Try a drip for sensitive fish and float methods for hardy species. Your patience will pay off with healthier fish and fewer problems.
Take one small action now: plan your next acclimation by preparing a clean bucket and testing your tank water. If this guide helped, leave a comment, share your own acclimation story, or subscribe for more fish care tips.
